If you’re looking to put an image inside of text, the best way to do this is with a clipping mask because it let’s you stylize and resize your text even after you are finished editing. Below you can see how my text looked after I used this technique.

In reality, while the image looks like it’s inside of the text, what you are actually seeing is just a background that is visible due to the text being transparent outlined. Below you can see the background image that I used:
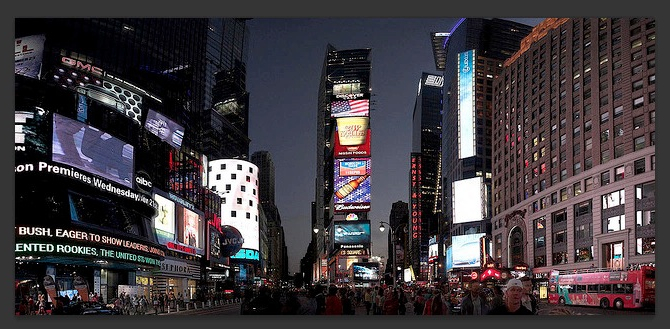
In the video below I show you how I created this text effect step by step and beneath the video, you will find the written tutorial:
Can’t view the video? Watch it on YouTube
Prepare your background:
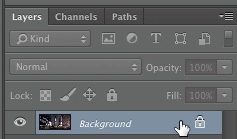
Open the image that you plan to use as the background and if it’s locked, double click the layer to unlock it.
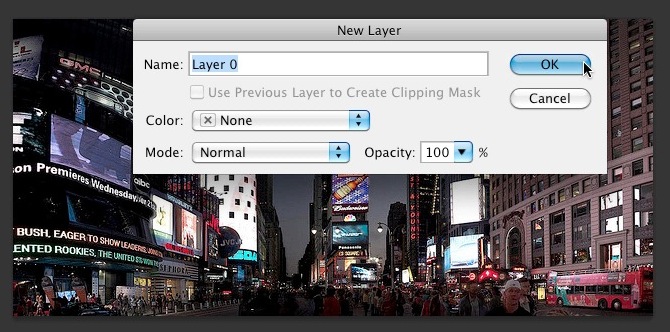
If you’d like, you can give your layer a unique name or use the default and click “ok”.
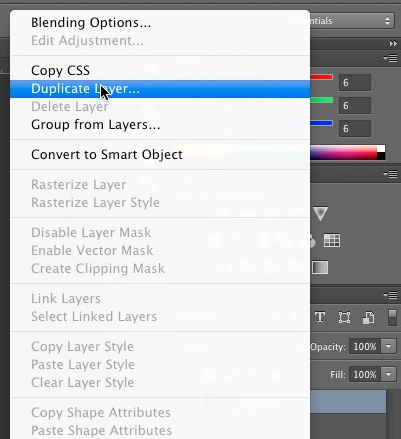
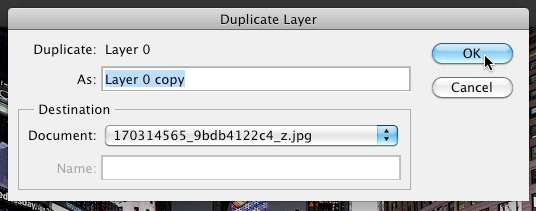
Next you’ll want to duplicate the background by right clicking on the layer and then clicking on “duplicate layer”.
Give this duplicate layer a name or leave the default name and click “ok”.
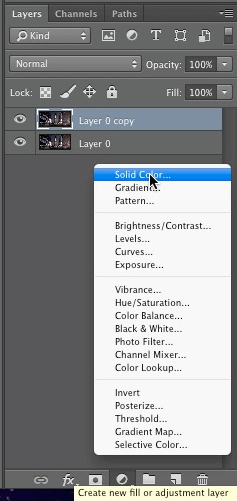
Now select the duplicate layer, and click on the two tone circle at the bottom of the layers window which is named “create new fill or adjustment layer” and click on “solid color”. See the image below for more details:
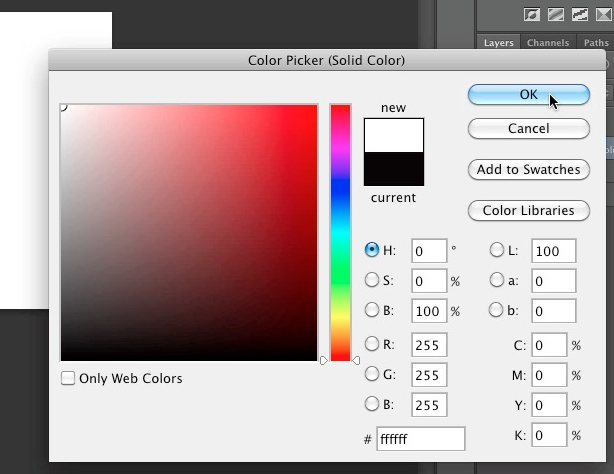
Use white for the color. The hex color code for white is FFFFFF.
Now drag this color filled layer beneath the duplicate background layer.
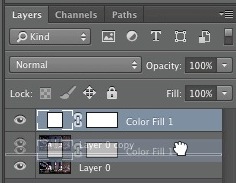
The position of the layer should look like this:
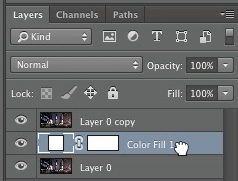
Now select the duplicate background layer.
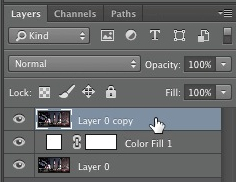
Create your text:
Next, select the horizontal type tool in the left tool bar ![]()
Now type your text. You can see how my text looked in the image below:
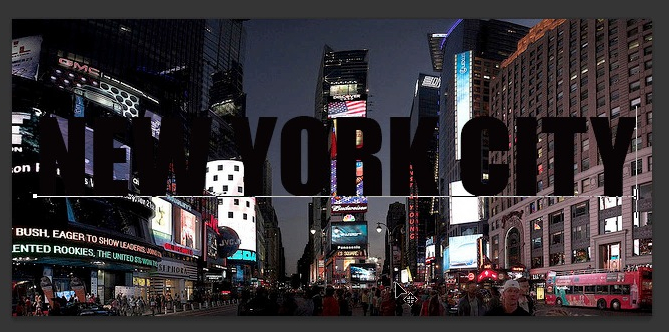
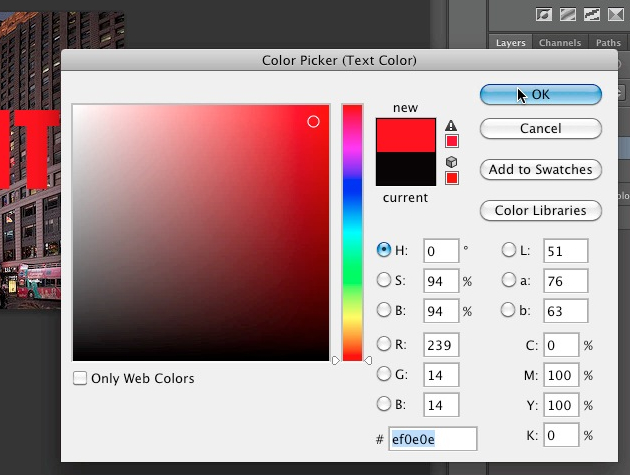
If you’re having a hard time seeing the text, you can change the color. I chose red because my background was very dark and my text was black so I had a hard time seeing it. The color that you use, really doesn’t matter because it’s just there to serve as an aid.
When you are happy with the position of your text, simply click the “checkmark” icon. Note that you can always reposition the text later and it’s actually better to position it later because it will be easier for you to see which parts of your background will be visible through the text once you add the clipping mask.
![]()
Make your text transparent:
Now drag your text layer beneath the duplicate background layer.
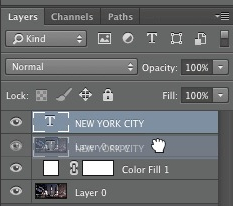
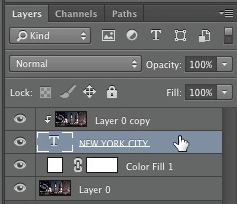
The order of the layers should look like this:
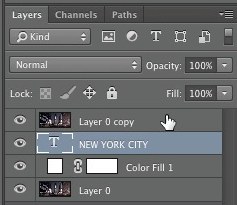
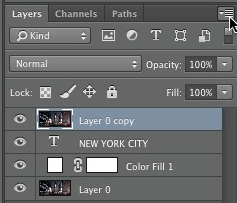
Now click on the arrow icon in the layers window as shown below:
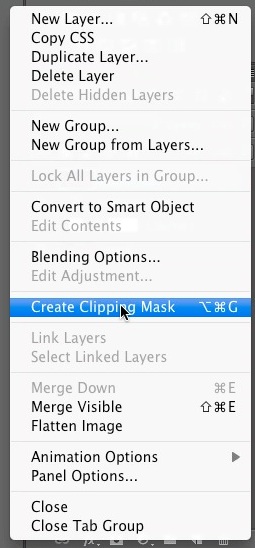
From the drop down menu, select “create clipping mask”.
Stylize and position your text:
Your background image should now be visible through the text. Now select the text layer and position and resize it as you’d like.
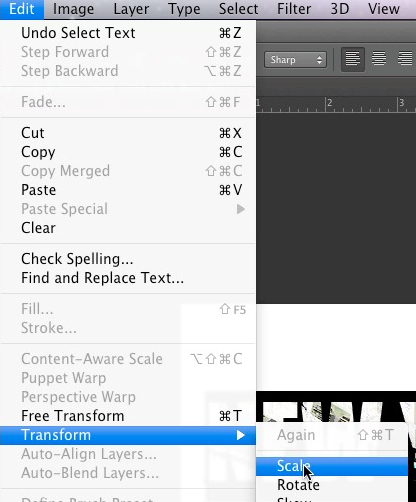
In the video I resized the text by going to “edit > transform > scale”. If resizing this way, remember to hold down the shift key on your keyboard while dragging because this keeps your text from becoming distorted.
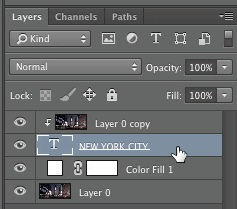
Now double click on the text layer to show the layer style window.
Tick of “stroke” in the styles column to add a border around the text.
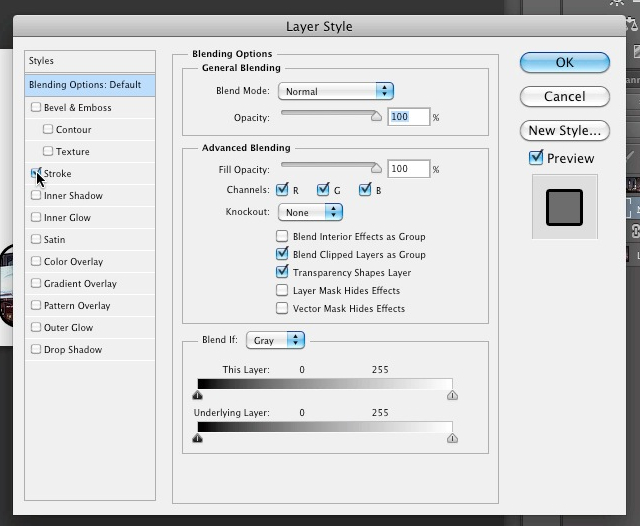
Choose a color for your border.
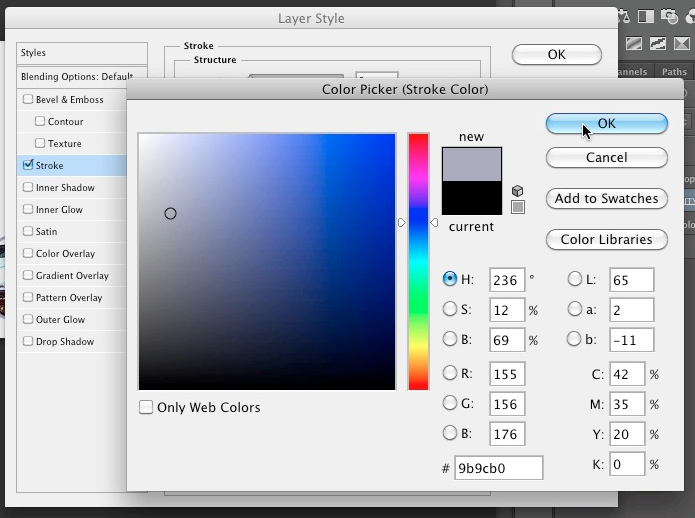
If you’d like, you can even drop a shadow on the text by ticking off the “drop shadow” checkbox in the styles column. I had the opacity at 75%.
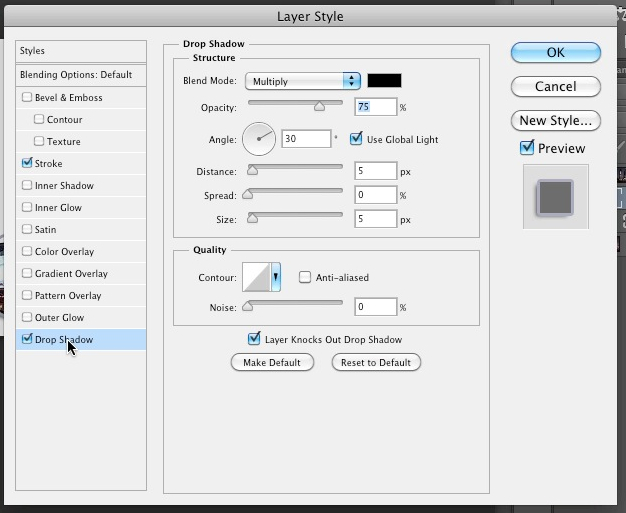
In the video I also set the angle at 93 degrees.
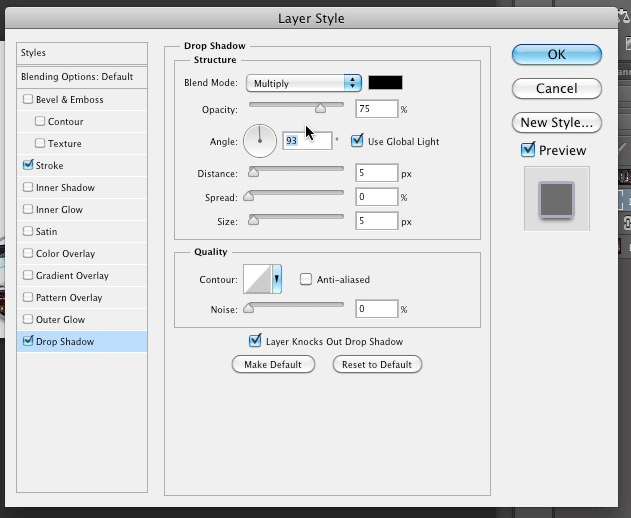
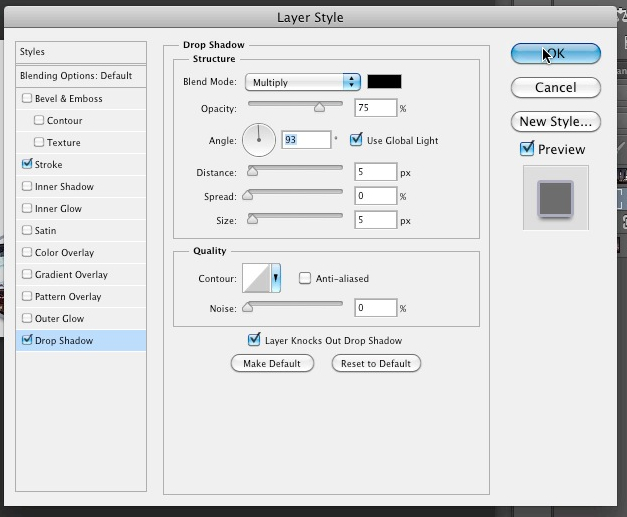
When you are finished stylizing your text, click the “ok” button.
Remember that you can move the text around to reveal different areas of the background.
You can also change the background color from white to another color by clicking on the left square of the solid color fill layer. See the image below for more details:
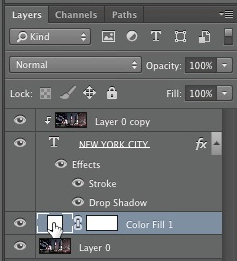
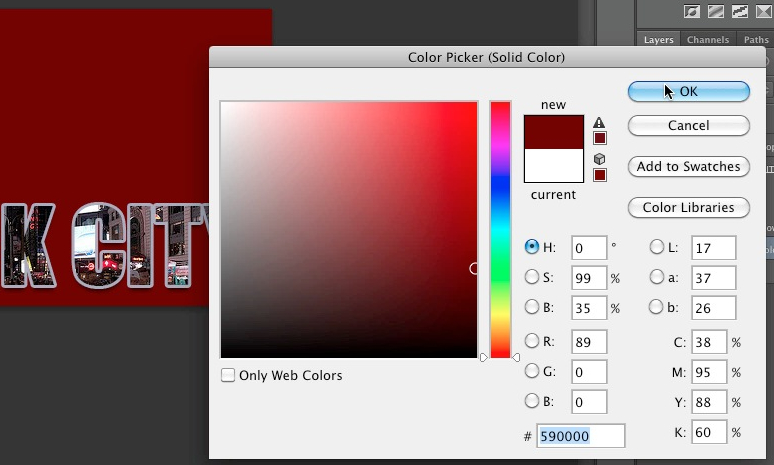
I used burgundy for the background which is the color hex code #590000. Of course, you can use any color for your background.
If you’d like, you can crop your text using the crop tool in the left tool bar ![]()
This is how I cropped my text:

When finished, my text looked like this:

