In this tutorial I figured I’d show people how they can quickly and easily blend an image into a new background using Photoshop. Below you can see how your image will look after using this technique:

As you can see, the effect looks great and very professional. You can watch the video below to see how I blended the above image:
Can’t view the video? Watch it on YouTube
Paste the foreground image on the new background:
To start, simply open up the images that you’d like to combine. Then simply select the image that you’d like to use as a foreground using the rectangular marquee tool ![]() As shown in the image below:
As shown in the image below:

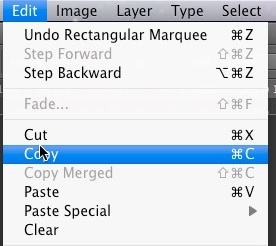
Then go to “edit > copy”.
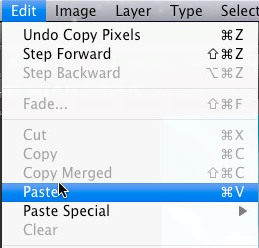
Then go to “edit > paste” to paste the image on top of the background.
After pasting your image it should look like this:

Position your foreground image:
After pasting the image, you’ll want to position it where you’d like it to show on the background. In my case the image was too small so I had to scale it a bit. I did this by going to “edit > transform > scale”.

I then clicked on the corner of the image and held my left mouse button down while dragging. To keep the image from getting distorted, I also held down the shift key on my keyboard while dragging the mouse.

If your foreground image isn’t perfectly centered with your background, you can center it by selecting both layers in the layers window as shown below:
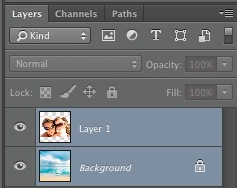
Then go to “layer > align > vertical centers” to align it vertically.

Next to go to “layer > align > horizontal centers” to align it horizontally.

Blend your foreground image into the background image:
Next select your foreground layer.

Then adjust the opacity level of that layer by dragging the opacity slider to the desired level as shown below. I used 66% for my image but you can raise or lower this level based on your preference. Keep in mind that you can also adjust this level later on.

Next you will want to add a layer mask by clicking the rectangle with the circle in the middle. See the image below for more details:

Next you will want to select the brush tool which is located in the left toolbar.

Now choose a brush size. You will want to choose a brush size that can easily blend away the edges of the image. I used 99px but since your image might be either smaller or larger than mine, you will likely need to adjust the size of your brush. As for the brush head, I used soft round.

I then lowered the opacity of the brush to 90% and clicked the airbrush icon as shown below:
![]()
I used an opacity of 90% because that creates a faded effect.
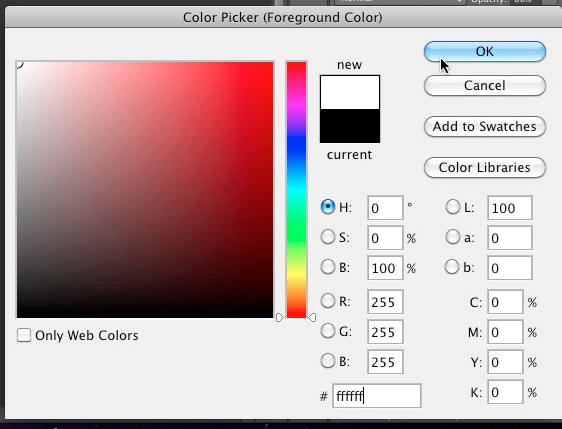
Next you will want to click on the set foreground color icon which is located in the left toolbar ![]()
Then you will want to choose the color back. The hex color code for black is #000000. We are using black due to our mask. You see when you paint over a mask with black paint, you are basically hiding (almost like erasing) the areas that you paint over.

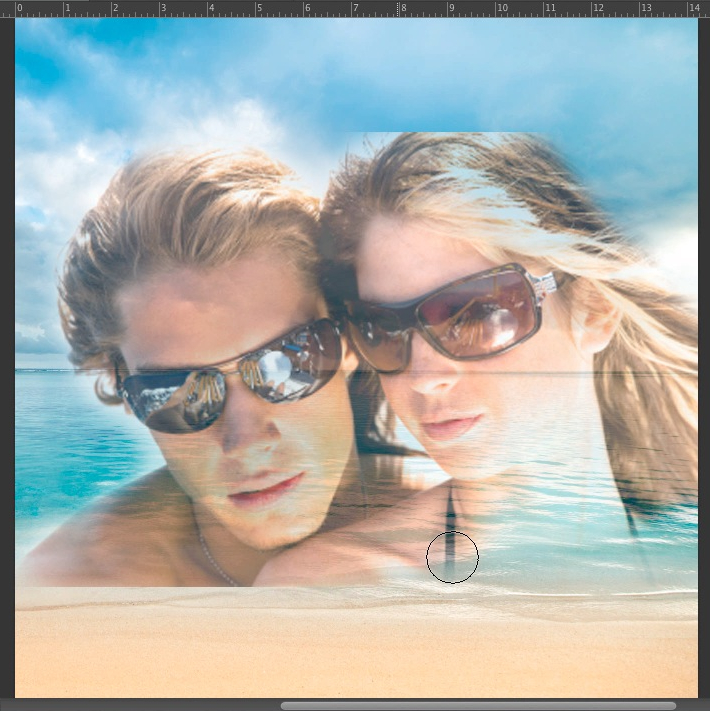
Now simply stroke away the edges of your image as shown below:

If you’d like to restore certain areas that you’ve painted over, simply click on the “set foreground color” icon ![]()
Now simply change the color to white. The hex color code for white is #FFFFFF. We are using white due to the mask. White paint restores areas that you paint over.
Now simply paint over the areas that you’d like to restore.
To erase away areas again, simply click the “set foreground color” icon once more ![]()
And change the hex color code back to #000000.

Repeat the above steps until you are happy with the results. When finished, you should have a beautifully blended image as shown below:
