As someone that build websites and sells items online, I have found myself using Photoshop quite often over the years and would say that the program has become a necessity for me… It just makes life easy… Especially when my pictures have imperfections in them and when I just can’t find a white background for the items that I am photographing.
While I do often lay the items on sheets of copy paper, it still doesn’t look as good as when I remove the backgrounds in the photos using Photoshop.
In the video below, I show you how I use Photoshop to do it. Keep in mind that I am removing the background around a female model which is a lot harder than removing the background around objects due to the hair and clothing having a lot of fine detail.
Can’t view the video? Watch it on YouTube
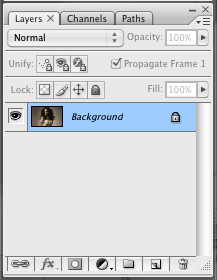
So to start, you’ll want to open your image. In the layer window, you’ll want to make sure that your image layer is unlocked. If the layer is locked, simply double click on it.
Below is an image of a locked layer:
Below is an image of what an unlocked layer would look like:
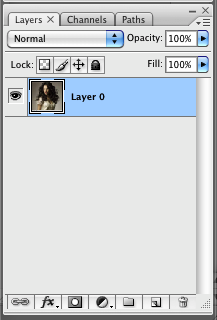
Note that if you don’t see this layer window, it’s because it is hidden. To reveal the window, simply go to the “window” menu in your Photoshop toolbar and make sure that the “layers” option is checked.
Next you will want to create a new layer by clicking the “create a new layer” icon in the layers window. The icon looks like this: ![]() .
.
Once you’ve created the new layer, move it so that it’s positioned under the image layer that you are removing the background from. You should have something that looks like this:

Now fill that layer with a solid color. In the video, I filled the layer with a bright green. I did this so that I can see bits and pieces that are left over from my image while erasing. If I were to leave a the layer transparent, I would miss areas while erasing. You can fill the layer by making sure that the empty layer is selected and clicking the “create new fill or adjustment layer” icon which looks like this: ![]() . Alternatively, you can fill the layer by going to “edit > fill” from the top menu bar.
. Alternatively, you can fill the layer by going to “edit > fill” from the top menu bar.
The next step is optional and depends on the size of your background. For example, my background was rather large and had plenty of space between the model and the edge of the image. So I erased around the image without getting too close to the actual model. I used the the regular eraser tool with a brush head of 200px because again, there was plenty of room between the model and the edge of the picture. The eraser tool looks like this:

The cleanup looked like this (note that I used the background eraser tool around the arm and will get to that next):

Now once you’ve cleaned up around the image, we are ready to clean up the edges of the foreground that we are trying to keep. In my video, that foreground is the woman in the photo. To do this we right click on the eraser tool as show in the image above and then left click (select) “Background Eraser Tool”.
Now, you’ll want to adjust the settings of the background eraser tool. In my video I start with a brush size of 30px, “Sampling: Once” selected, “Limits” as contiguous and a tolerance of 5% and have the “Protect Foreground Color” option unchecked. These options are in a tool bar that looks like the one below:
![]()
Note that the tolerance depends on the background and foreground colors. If the background can be easily distinguished from the foreground, you can easily raise the tolerance to 50%. In the video I start with 5% around the wide areas and work my way up when I get to the hair because the color is black and can be easily distinguished from the background.
New I just hold the left mouse button down and move the eraser along the edges of my model. Note that I release the left button occasionally and at times click rather than hold the button down and drag. I actually recommend this because it is easier to undo if you make a mistake. I also change brush sizes in the video and switch between the regular eraser tool and background eraser tool. When I use the regular eraser tool, I use it with a small brush head and make sure that I don’t erase parts of my model.
In the end, all of this may seem difficult but practice makes perfect. It is best to practice on images that have dark foreground and white backgrounds and then work your way up to more detailed images. In my example, the background is gradient so it’s a bit difficult to erase but after a while it’s not so bad. Here are the before and after images:
Before:

After:

As you can see, I added the image of a tunnel as well as of a male model. Note that the image of the male model also had a background that I removed. I think I could have cleaned up a little better around the female on the left side but overall, I think it looks pretty good. Keep in mind that it has a slight glare to it from the ceiling lights.