In this tutorial I show you how I created an animated GIF in Photoshop CC using a series of images. The images show a model wearing different colored sunglasses. Each image also has text which describes the color that she’s wearing. So it’s sort of like an image slideshow of products but in an animated GIF version.
This is actually a pretty cool way of displaying multiple products all in one image. You can see the GIF that I created below:
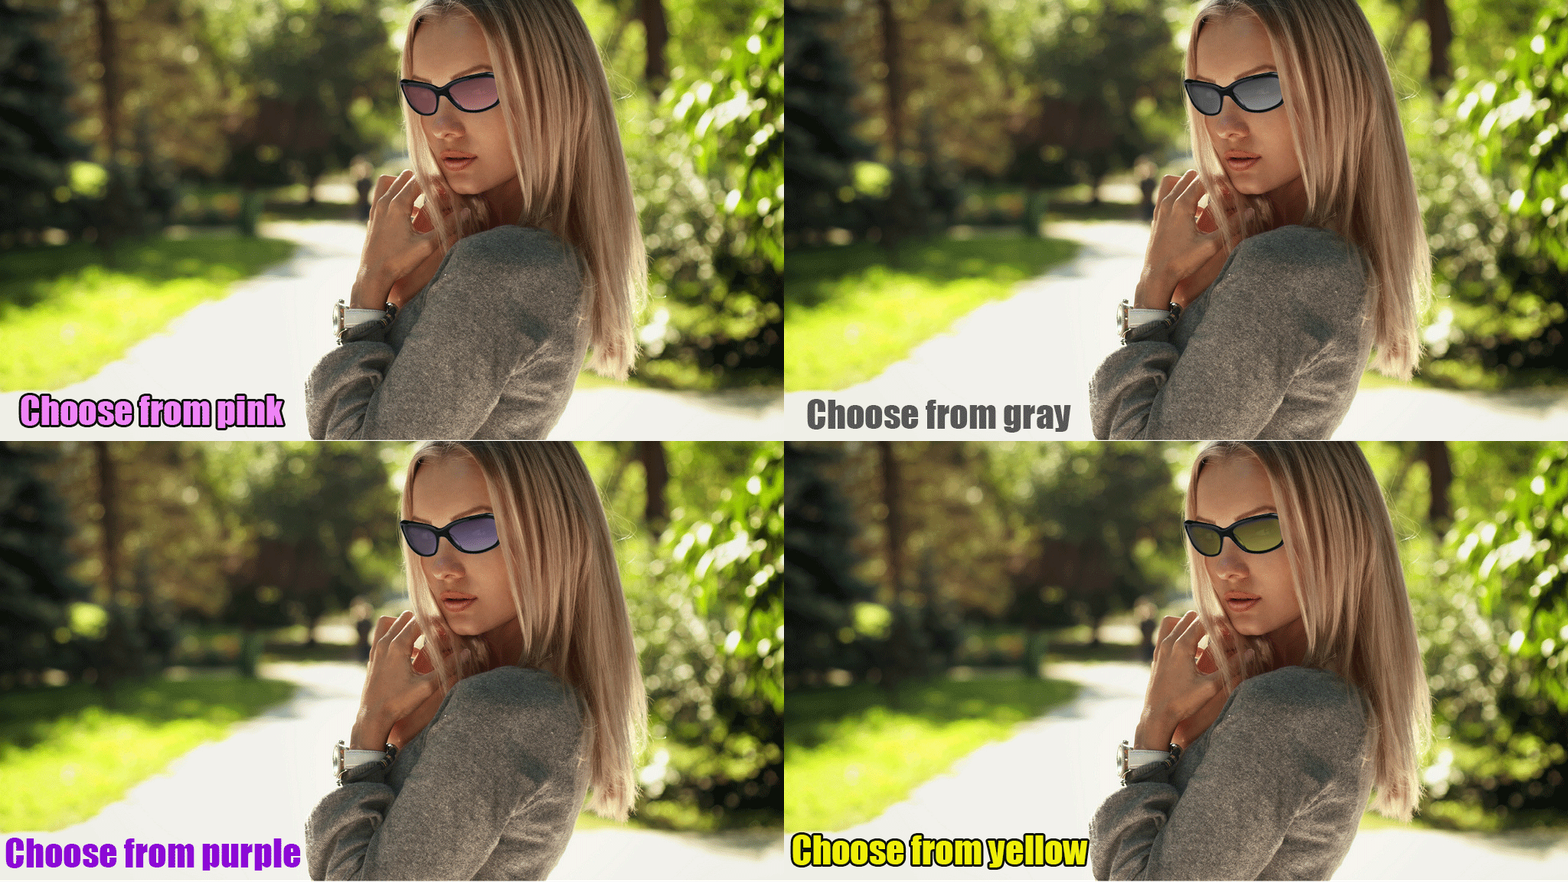
Below you can watch the video to see how I created the GIF and beneath the video, you will see the written tutorial along with screenshots.
Can’t view the video? Watch it on YouTube
Prepare your images:
First you will want to prepare each and every image that will be used for the GIF. If you plan on adding text to your image or any effects, you should add them to each image and then merge the layers together.
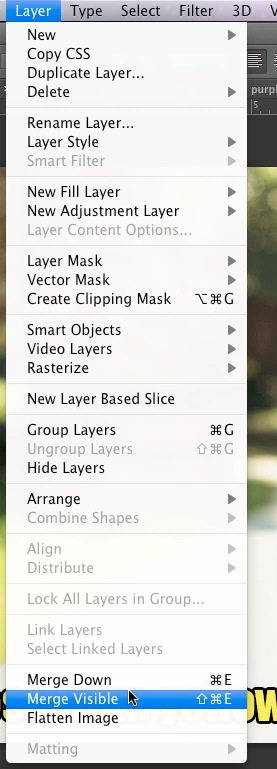
If you do not merge, the text or effects that you add, will be displayed in a separate frame. Merge the layers, by simply going to “layer > merge visible”.
Add all of your images to a canvas:
Then select the rectangular marquee tool ![]()
Now select the image with the rectangular marque tool.
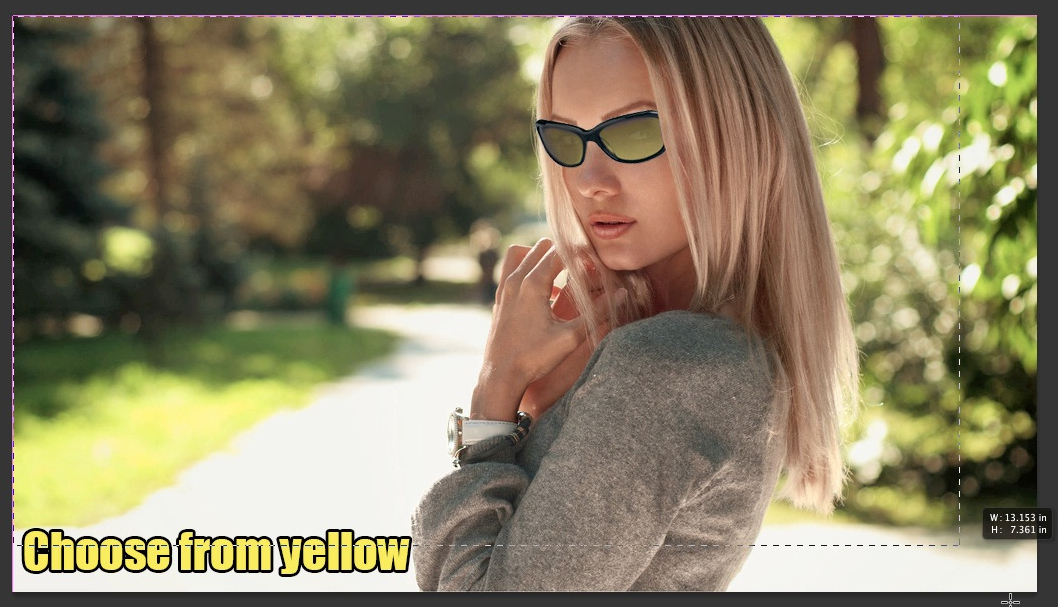
Now simply copy and paste the image into one canvas. Repeat these steps for all of your images.
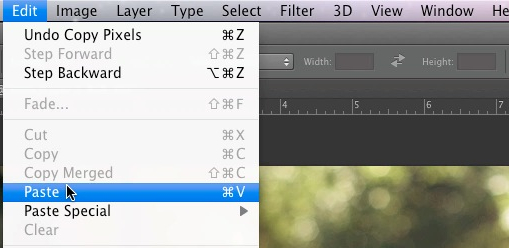
To copy, go to “edit > copy”.
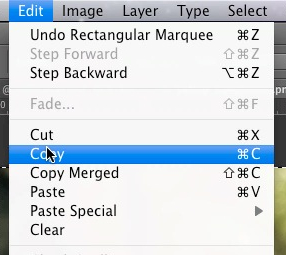
To paste, go to “edit > paste”.
Create an animation timeline:
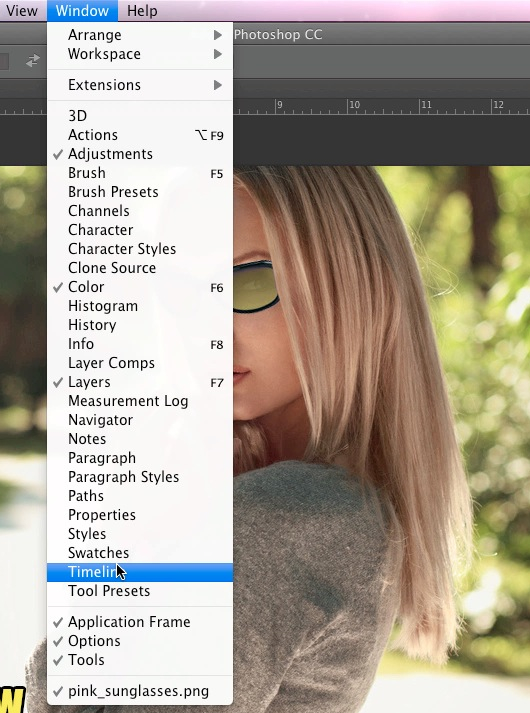
Now we will need to show the timeline window. Note that in older versions of Photoshop, this is called the animation window which is now called a timeline window. To show the timeline window, simply go to “window > timeline”.
Now since we are using images to create our animated GIF, we will need to select “create frame animation” in the timeline. In the image below, you can see how this menu looks.

Next, click on the “create frame animation” button.
![]()
After clicking this button, you will see a timeline containing one frame. To add all of the images that you just created to the frame, you will need to click the arrow to the right of the timeline which will show a menu like in the image below.
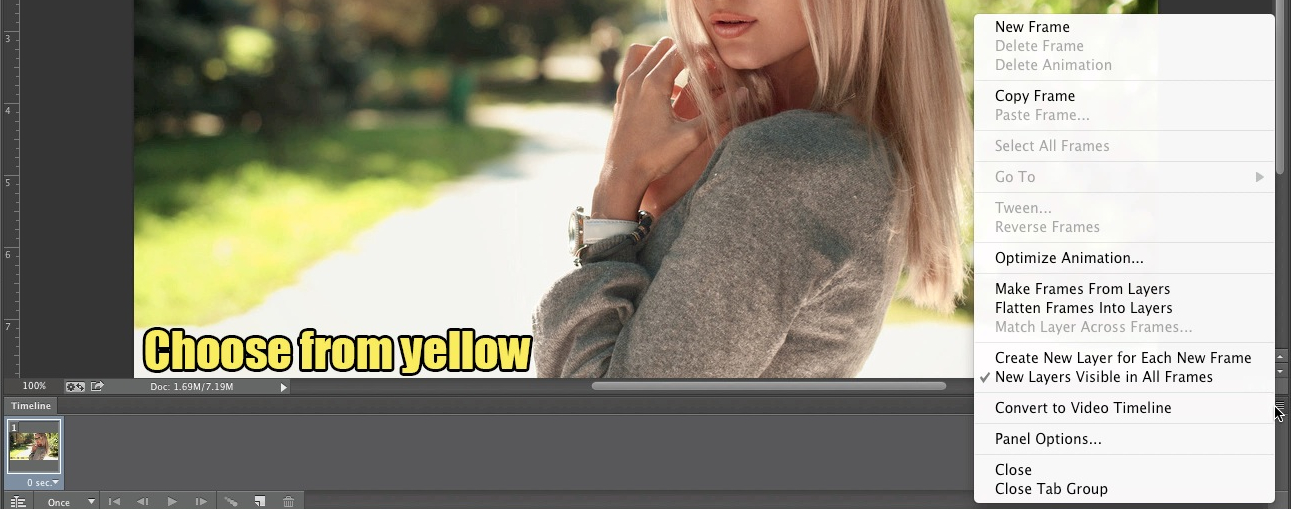
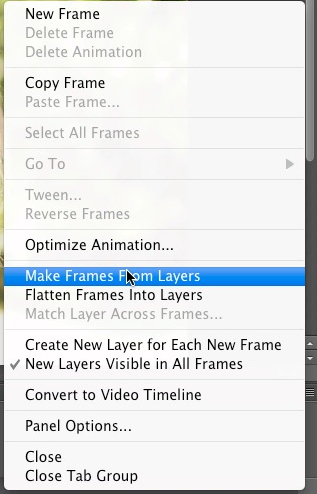
Next simply click on “make frames from layers” to add all of the layers which contain your images.
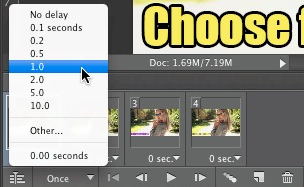
After adding all of the layers, you can preview the animation by clicking on the play button in the timeline window. When using still images such as the ones that I used in my animated GIF, the animation speed may be a little too fast. To adjust the speed, simply click on the arrow on the bottom of each frame and select the time delay which is in seconds.
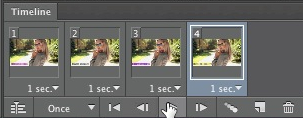
After adjusting the speed, click the play button again to preview the animation.
Save your animated GIF:
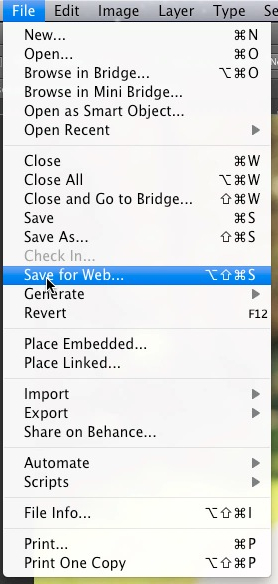
When you are happy with the look, simply go to “file > save for web” to save.
For the settings choose “GIF” from the drop down menu.
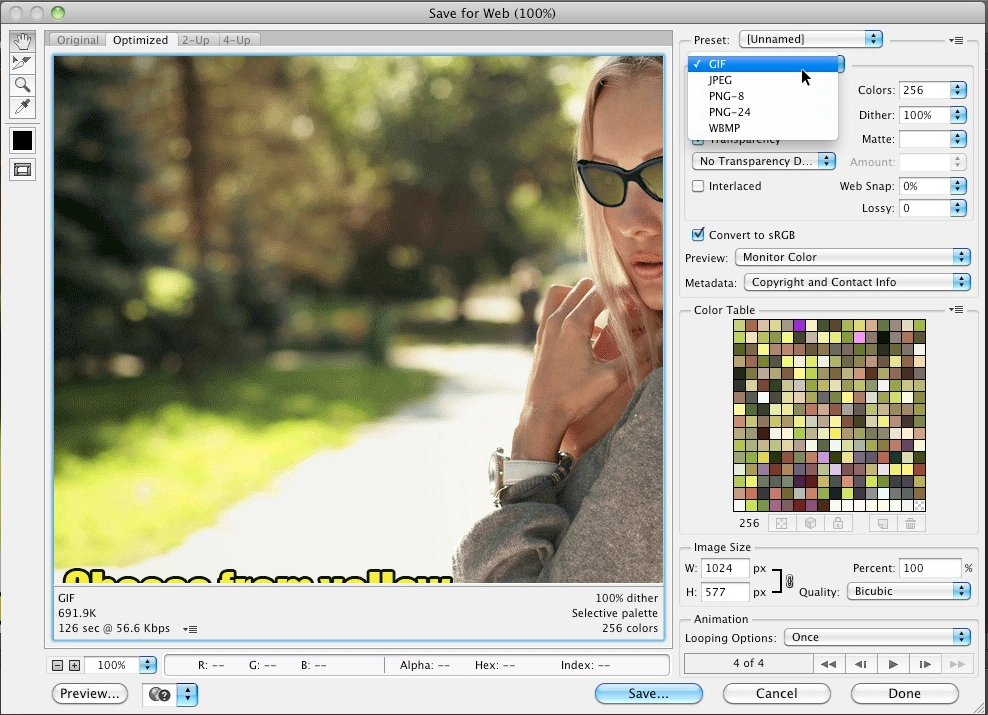
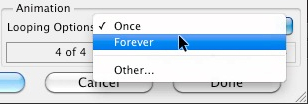
In the animation section, you can also set looping options. For example, you would select “once” if you want all your images rotated once and “forever” to have them rotated infinitely.
Click the save button to save the animated GIF to your computer.

To preview the animated GIF, simply open it up in a web browser. I had to open it up with Safari on my Mac computer because my preview application wouldn’t show the animation. To use the image on your site or on some other site, simply upload the image as you normally would any other image.
