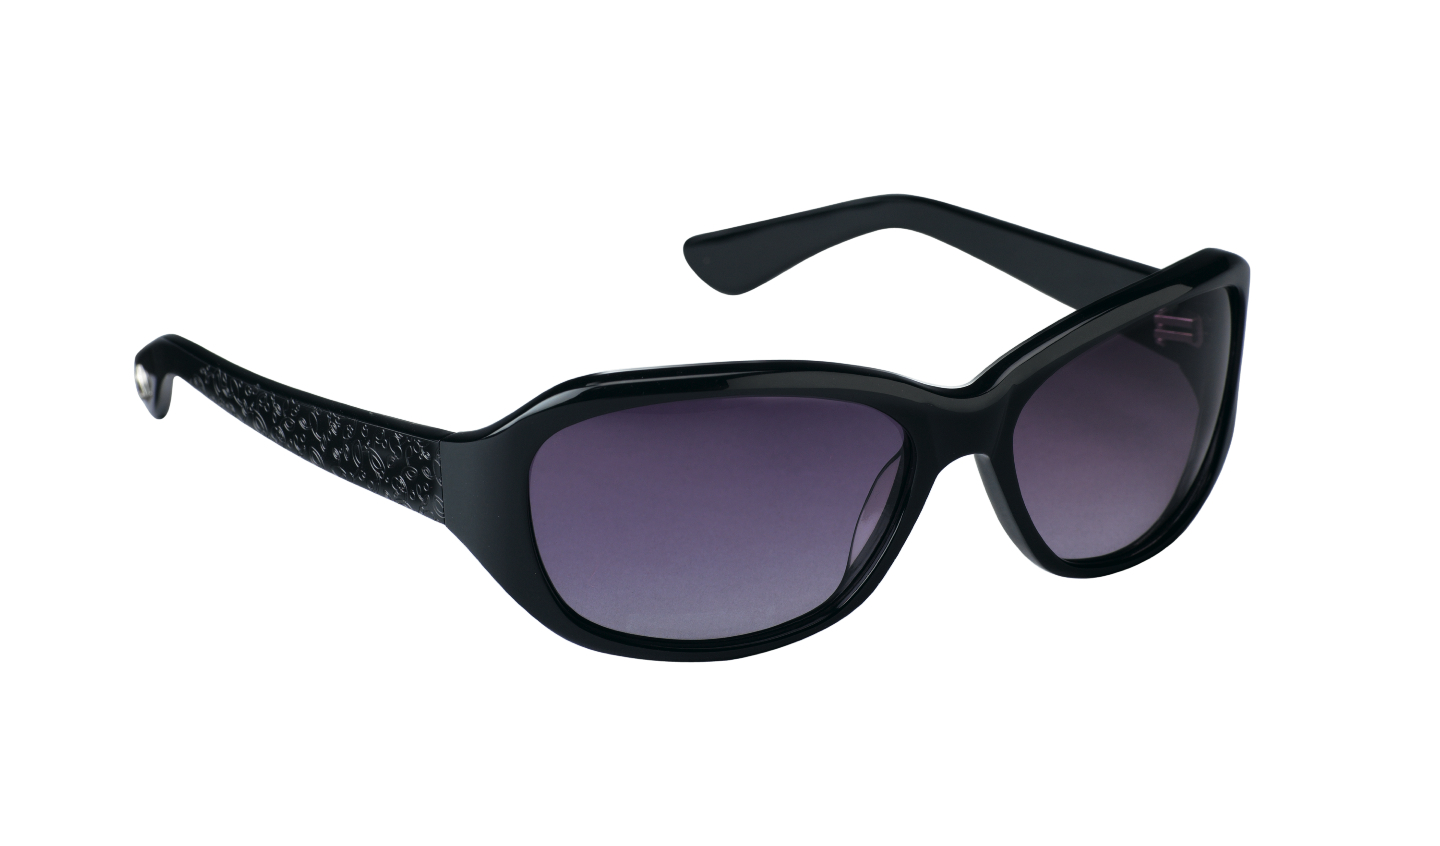
When I used to look at websites that place sunglasses or eyeglasses on a person’s face and then let you click on another style to see how that other style looks on the model, I used to always wonder how they do it? So I figured I’d try it in Photoshop.
So now that I figured it out, I figured I’d show others how to do it as well. Of course, since I like to pay close attention to details, I actually show you how to do it so that it actually all looks real.
In the video, I show you how to:
- Position the glasses properly on the model’s face.
- Erase parts of the glasses.
- Paint over the lenses so that you cannot see parts of the glasses through them.
- Make the lenses look see through.
- Change the color of the lenses.
While I perform all these cool tricks in Photoshop CC, the tutorial will work with older versions of Photoshop and likely future releases.
I use the following Photoshop tools for the job:
- Eraser tool.
- Mixer brush tool.
- Crop tool.
- Rectangular marquee tool.
As for the sunglasses, I removed the background using the magic wand tool because the background was easy to remove due to the background being white and glasses being black. If you are working with a slightly more complex image, you’d want to watch the following videos prior to watching this one:
You can watch the video tutorial in its entirety below:
Can’t view the video? Watch it on YouTube
In the event that you want to try this while following the video, here’s the picture of the sunglasses that I used and the image of the model is beneath it — click to enlarge the images.

Here are the before and after pictures.
Before:

After with original lens color:

After with lens color changed:

