Not too long ago I put together a tutorial on how to join people together in an image using Photoshop, but now figured that I should also show everyone how to drop a shadow since that particular image really needed some shadows to make things look a bit more real.
While Photoshop does have a built in drop shadow effect, that particular function doesn’t work very well on people or objects where perspective shadows are needed. This is why I figured I’d show you an alternate solution. In the image below, you can see how this solution looks.
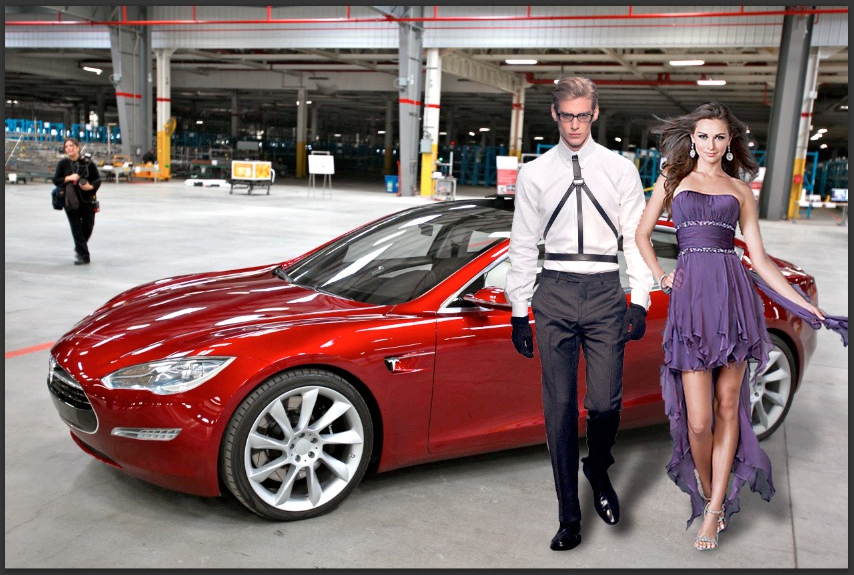
As you can see, the effect looks good and in the video below I show you how I did it.
Can’t view the video? Watch it on YouTube
Prepare your image(s):
Start by opening up the image that you would like to drop a shadow on.

Note that you need to remove the background behind the person or object prior to proceeding with this tutorial. As you can see in the image below, both of my models have the backgrounds removed.

If your image doesn’t have the background removed as mine does, you can look through the tutorials below to see how you can remove those backgrounds:
In the above tutorial I show you how to remove background around hair and difficult to deal with backgrounds using the background eraser tool.
Change the Background of an Image
While in this tutorial I show you how to change the background of an image, I first needed to remove the original background so the above tutorial really goes into a lot of detail when it comes to this. Unlike in the other tutorial, this one shows you how you can use the background eraser tool as well as the quick selection tool.
Join People Together in an Image
In the above tutorial, I show you how I created the image that is used in this tutorial.

So after you’ve finished removing the background of your image, simply duplicate the person or object that you’d like to drop a shadow on by right clicking on that layer and then choosing “duplicate layer”.

In the dialog box that appears, either enter in a name for that duplicate layer or leave it on the default and click “ok”.

Working with more than one person or object:
If you’d like to drop a shadow on more than one person or object you can do so by following the steps above for each person and object. After you’ve finished removing the backgrounds of those images and duplicating each of those layers, you’ll want to position each of those layers at the top of the layers window.

See what I mean below:

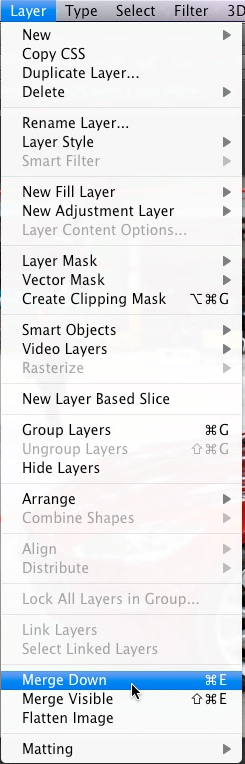
If you’d like to drop a shadow on each person or object separately, you can do so. In the video I was actually working with 2 models in 2 separate layers so make the process a little faster, I decided to merge the 2 layers together so that I would only have to create one shadow.
I merged these layers by going to “layer > merge down”.
Drop the shadow:
Next I selected the layer and clicked on the fx icon at the bottom of the layers window and selected “color overlay” from the drop down menu.

Since I already had a shadow underneath the car in the image, I used the eye dropper to select that color. Of course using the color black is also fine.

After choosing the color of your shadow, simply click “ok” to close the color picker dialog box.

Click “ok” to close the layer style dialog box as well.

Next we will want to skew the shadow so that it’s positioned where it needs to be. To do this, simply go to “edit > transform > skew”.

Now you will need to decide on which direction you’d like to point your shadow in. To position left or right, simply click on the middle square in the frame and hold down your left mouse button while dragging left or right. In the video, I decided to point the shadow to the right.
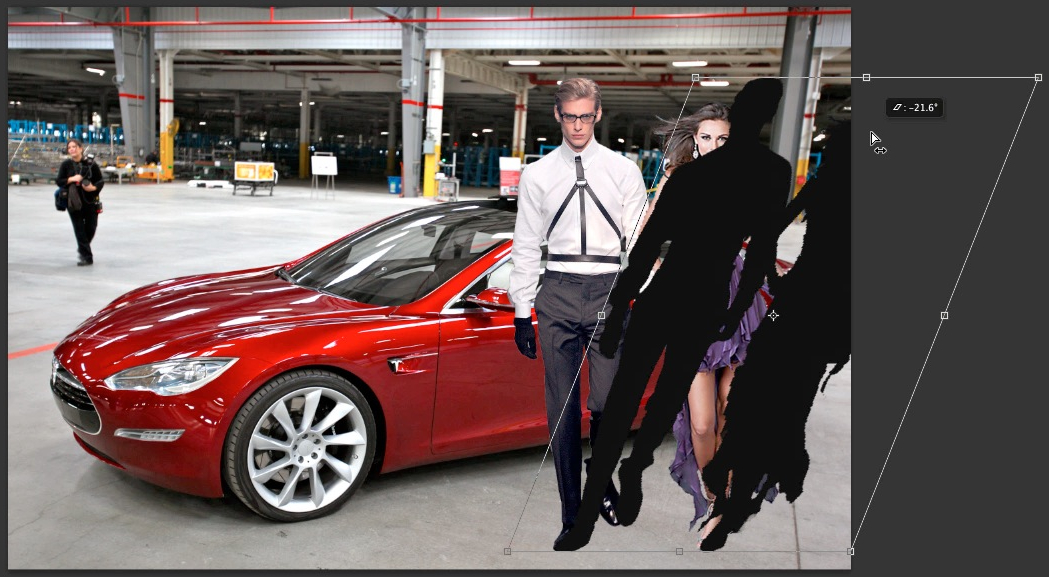
Now we will also need to scale down the shadow a bit because if left as is, it would be too tall. To scale down, simply click on the left square on the frame and hold your left mouse button down while dragging to adjust the height on the left.

To adjust the height on the right, simply click on the right square in the frame and hold down your left mouse button while dragging down.
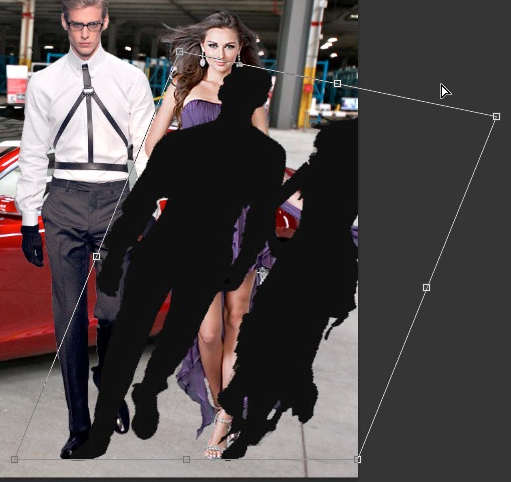
See the image below to see how my shadow looked after I finished skewing the image.

When you are finished skewing your shadow, click on the checkmark in the top toolbar for the changes to take effect. ![]()
Now you’ll want to drag your shadow layer beneath the layer with the person or object in it.

Your person or object should now be in the front of the shadow like in the image below:

To make the shadow look like a real shadow, you’ll want to apply the gaussian blur filter by going to “filter > blur > gaussian blur”.

We are adding this filter because we want to get rid of the fine edges around the shadow. I set my radius at 28.9 pixels but you can decide on what radius size looks best for your shadow by dragging the radius slider left or right or by entering a number in the input field. When you are happy with how your shadow looks, click on the “ok” button.

Now you will want to add a layer mask to the shadow by selecting the shadow layer and clicking on the rectangle with the circle in the middle at the bottom of the layers window.

In the left toolbar, click on the set foreground color icon: ![]()
Enter black for the foreground color which is the hex color code #000000 and click “ok”.

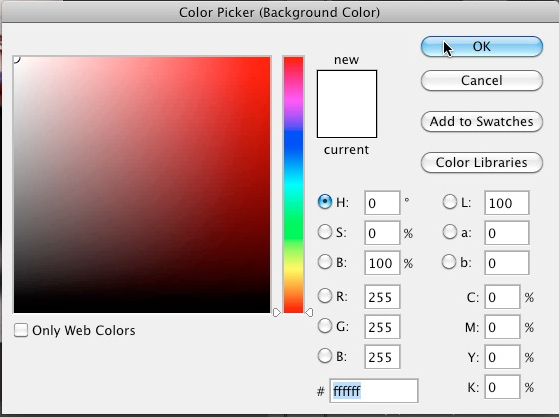
Next you’ll also what to set a background color by click on the “set background color” icon: ![]()
Now enter in the hex color code #FFFFFF for the background color and click “ok”.
Now select the gradient tool from the left toolbar: ![]()
Choose “foreground to background” for the gradient and make sure that “linear gradient” is selected.

Now draw a line with the gradient tool starting from the top and working your way down.

After drawing the gradient, you will notice that your shadow fades out and looks a lot more real.

If your shadow looks too dark, you can lower the opacity of the shadow by selecting the shadow layer and dragging the opacity slider down as shown below:

Once finished, you should have a realistic looking shadow. Again, this is how my shadow looked when I was finished with it:
